How to apply rhinestones to garments using E6000 Plus - Step-by-step guide
Why use E6000 Plus?
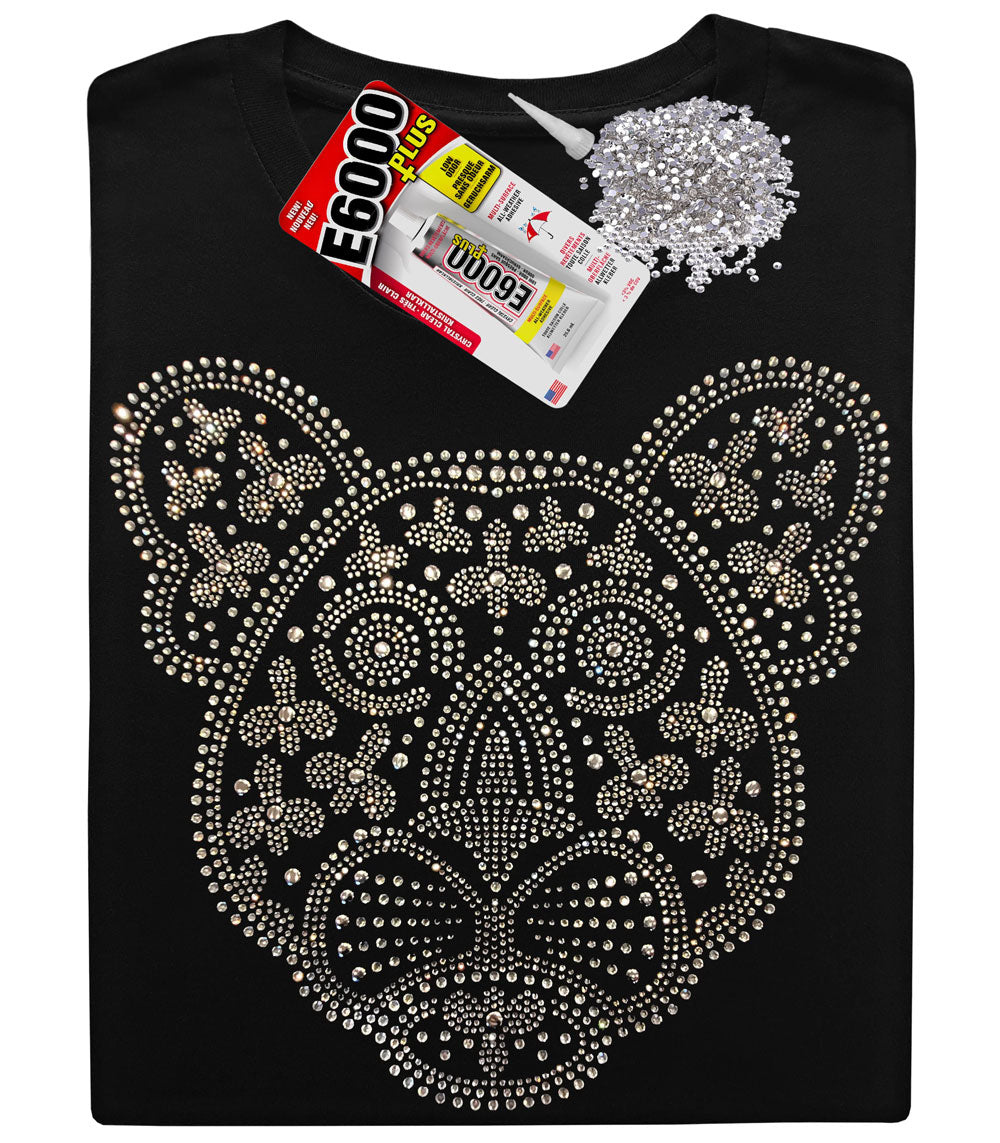
E6000 Plus is a crystal-clear, flexible, waterproof adhesive formulated for crafts (gems, glass, fabric, metal). It’s designed to have a low odour compared to earlier formulas. It is rated washer/dryer safe once fully cured, making it an excellent option for long-lasting rhinestone bling on clothing.
What you’ll need
- E6000 Plus (tube with snip tip or a fine applicator/syringe).
- Garment (pre-washed and dry).
- Rhinestones (flat-back crystals) or gems. We recommend Crystal Parade for their wide range of quality rhinestones
- Precision glue applicator: fine needle/nozzle, snip tip, syringe with blunt tip, or toothpick for tiny dots.
- Tweezers/rhinestone pick-up tool/wax pick.
- Clean scrap cardboard, Teflon sheet (grease-proof paper) or silicon sheet to insert inside the garment.
- Small weights or clothespins (optional) to hold pieces while they tack.
- Gloves, a well-ventilated workspace, and paper towels for cleanup
Prep (this step saves headaches)
- Test first. Always try the glue on a scrap of the same fabric or a hidden seam to check for staining, stiffness or colour change.
- Wash/dry the garment first (with no softener/conditioner). This removes sizing so the glue adheres properly.
- Insert a barrier (Teflon sheet/silicon sheet) inside the garment under the work area - this prevents glue from transferring to the back layer.
- Protect your work surface with kraft paper or cardboard.
Two reliable application methods
Method A — Precision single stones (recommended for delicate fabrics)
Best when you want individual stones or a sparse pattern.
- Lay the garment flat and insert a Teflon sheet/silicon sheet inside the garment to protect from glue seeping through to the other side. Using a firm piece of cardboard under the sheet helps keep the garment flat when working on it.
- Using a fine applicator (needle nozzle/syringe), put a tiny dot of E6000 Plus on the fabric where each stone will go — size of a pinhead. (Alternative: place the dot on the stone’s back if you can pick up and place it immediately.)
- Using tweezers or a wax pick, place the stone onto the glue dot and gently press for 5–10 seconds (don’t over-squeeze — excess glue is what soaks through).
Why this works: very small glue volumes give a strong bond without saturating the fabric and reduce the chance of seep-through.
Method B — Clusters / lines / heavy coverage
Suitable for dense designs (e.g., collars or full motifs) but requires more control.
- Place parchment paper/Teflon sheet inside the garment to prevent the glue from transferring to the opposite side. Using a firm piece of cardboard under the sheet helps keep the garment flat when working on it.
- Use a bead-sized line of glue only where the largest stones will sit. For clusters, apply glue to the fabric in small sections (2–3 stones at a time).
- Place stones and press just enough to seat them — avoid smearing.
- Work in short sections and allow each small section to become tacky before moving on - this limits wet glue migration.
Preventing the inside of the garment from sticking together (practical tips)
- Insert a firm cardboard or plastic shim inside the garment. This creates a rigid surface so glue doesn’t press into the back fabric.
- Use a non-stick sheet (parchment, Teflon, or silicone sheet) on the inside directly under the work area. If the glue seeps through, it won’t bond to the backing, and you can peel the sheet away.
- Apply minimal glue. Less equals less seep-through. Use a fine applicator or syringe for micro-drops.
- Flip technique: for very porous fabrics, place the rhinestone on a thin smear of glue on a scrap, let it get slightly tacky, then position it onto the garment — this reduces wet glue soaking through.
Drying & cure times - what to expect
- Tacky/initial set: E6000 and related formulas start to become tacky within minutes (exact tack time varies by formulation and film thickness).
- Full cure: Allow 24 hours for complete cure under normal room conditions. Depending on thickness, temperature and humidity, maximum bond strength may not be reached for up to 72 hours. For optimal durability, wait 72 hours before subjecting to heavy handling or machine washing.
Washing & care (recommended routine)
- Wait 72 hours before the first machine wash to let the bond reach maximum strength.
- Turn the garment inside-out, use a gentle cycle, cold water and a mild detergent.
- Avoid dry-cleaning (manufacturer guidance discourages dry cleaning for E6000 projects).
- For longevity: air-dry or tumble dry low and avoid heavy agitation with rough items (e.g., jeans) on the same load.